A Beginner's Guide to Split Keyboards
Split keyboards allow you to learn how to touch type easier, improve sitting posture and can be more comfortable. This guide shows you how to get set up with a split keyboard.
1. Buy a split keyboard
I am currently using a Lily58 but there are many other split keyboards available. A keyboard with 54 keys is a good starting point as it gives you flexibility in the number of keys you can use.
2. Choose a split keyboard layout
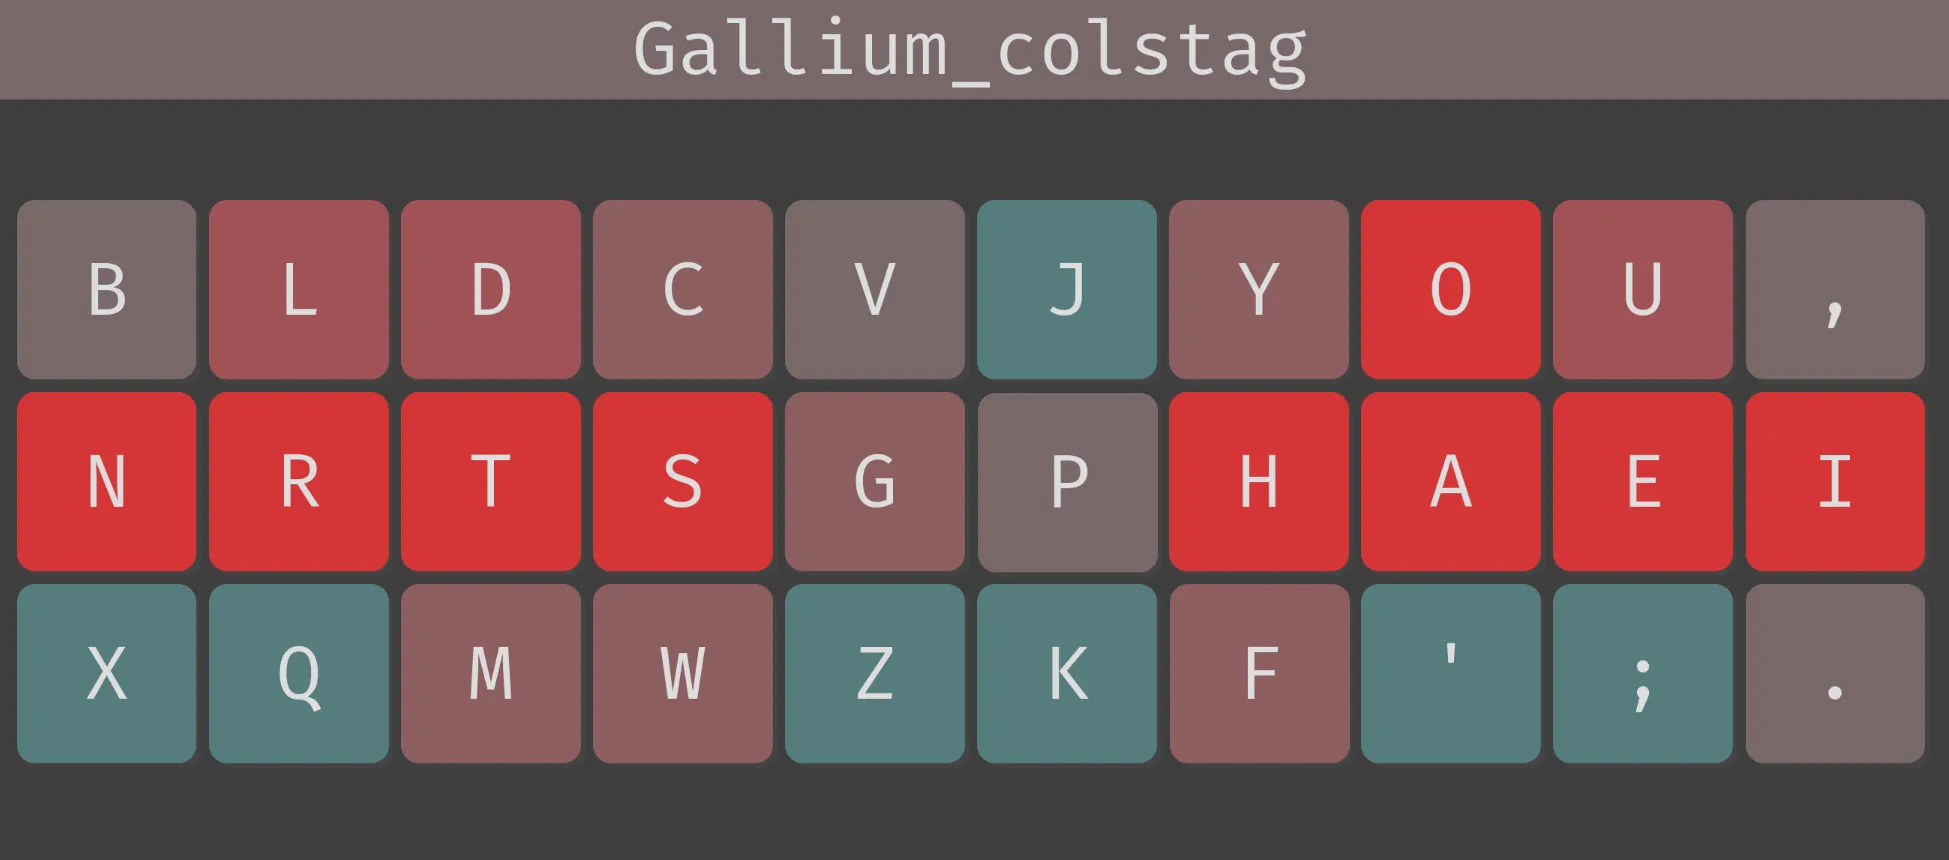
Alphabetic layout
As you are going to be typing on a split keyboard it may be a good time to change from QWERTY to a more comfortable alphabetic layout. I am using Gallium as I read it works well with Neovim. Gallium consists of the 26 letters of the English alphabet and four punctuation characters. It took me about 4 weeks to get used to typing on Gallium and get back to my original typing speed. I find Gallium comfortable and I am now able to type faster than I could using QWERTY.
Full Miryoku layout
I use Gallium with Miryoku a 36-key ergonomic layout that includes all keys found on a US TKL keyboard. You can design your own key layout using QMK if you prefer. The benefit of a layout with only 36 keys is it is easier to learn proper touch typing. A mouse keys layer is conveniently provided which I now use instead of a mouse. Miryoku uses Colemak Mod-DH as the default alphabetic layout but this can be easily changed.
3. Install QMK
Follow step 2 of the QMK guide.
4. Install and customise Miryoku
Clone the Miryoku QMK repository. In the root directory of Miroyoku QMK run qmk setup and select option 3 (Keep it and continue) when it says qmk_firmware found in the directory. Any changes you want to make to the default layout can be made in users/manna-harbour_miryoku/custom_config.h. Copy the default layer you want to modify from /users/manna-harbour_miryoku/miryoku_babel/miryoku_layer_alternatives.h to custom_config.h. Change the word ALTERNATIVES in the layer name to LAYER.
I made changes to the layers for comfort and to accomodate the replacement of Colemak Mod-DH with Gallium. The main changes were:
- Changed the base layer from Colemak Mod-DH to Gallium.
- Swapped enter and space between the two thumb clusters.
- Moved tab and esc off the left thumb cluster to key combinations.
- Moved all symbols of the thumb clusters.
- Moved all layer buttons to the third row of the keyboard halves to reduce thumb use.
5. Compile the firmware
In order to compile the correct firmware you will need to know the microcontroller used in the keyboard. If the microcontroller is not a Pro Micro then a converter is needed. You can substitute the keyboard name if not using a Lily58. The converter in the RP2040 section can also be substituted. Run the following command for your microcontroller in the root directory of Miryoku QMK.
Pro Micro
This will create a hex file.
qmk compile -c -kb lily58 -km manna-harbour_miryokuRP2040
This will create a UF2 file.
qmk compile -c -kb lily58 -km manna-harbour_miryoku -e CONVERT_TO=rp2040_ce6. Flash the firmware
Whilst holding the boot button of the master keyboard half connect it to the computer. You only need to flash the master half.
Pro Micro
In the QMK Toolbox select the hex file and then click flash. Linux users can try running the following command.
qmk flash -kb lily58 -km manna-harbour_miryokuRP2040
The UF2 file can simply be copied to the mounted drive.
7. Tent the keyboard
Tenting a split keyboard, raising the inner edges, can reduce wrist strain. I type with my keyboard halves tented at a 90 degree angle. An easy tenting solution is using a UGREEN Magnetic Phone Stand for Desk. Attach the provided metal ring to the back of the keyboard.